Are you teaching a classroom chemistry science unit this year? If so, then this FREE acids and bases experiment will be the perfect addition to your unit! Click HERE to have it sent straight to your inbox or keep reading for all of the details!
Acids and Bases Experiment Materials:

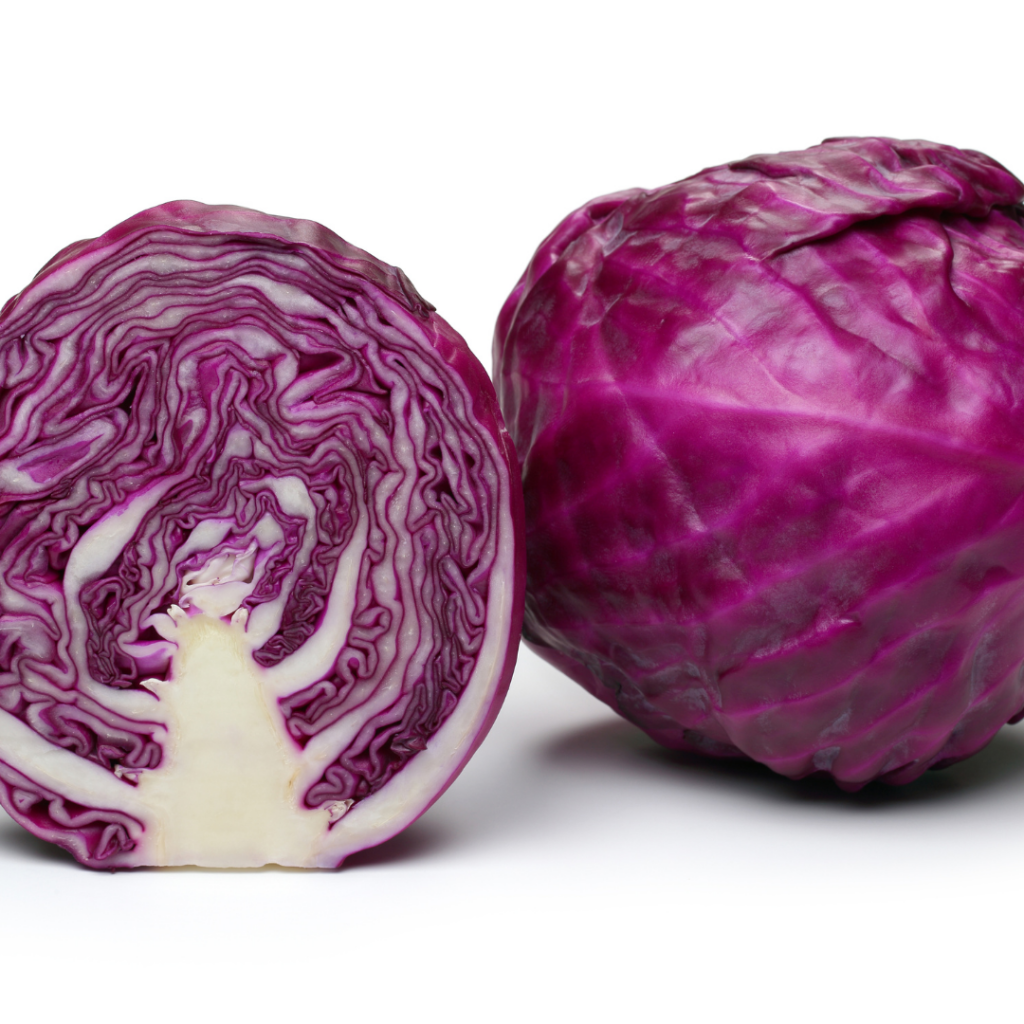
- Red Cabbage Juice
- To make red cabbage juice, cut a red cabbage into chunks and place in a large glass bowl. Boil water and dump the water over top of the cabbage until it is all covered. (You could also bring the water to a boil over a stove but I don’t have one close to my classroom so this works best for me!) Let it sit for an hour and then strain out the cabbage.
- One large cup per group
- red solo cups from the dollar store work really well
- Small plastic cups (5 per group)
- Plastic shot glasses from the dollar store work really well as do condiment cups.
- one tbsp of ketchup per group
- one tbsp of lemon juice per group
- one tbsp of baking soda per group
- one tbsp of dish soap per group
- one tbsp of vinegar per group
- 5 stir sticks per group
- at least one pipette (eye dropper) per group
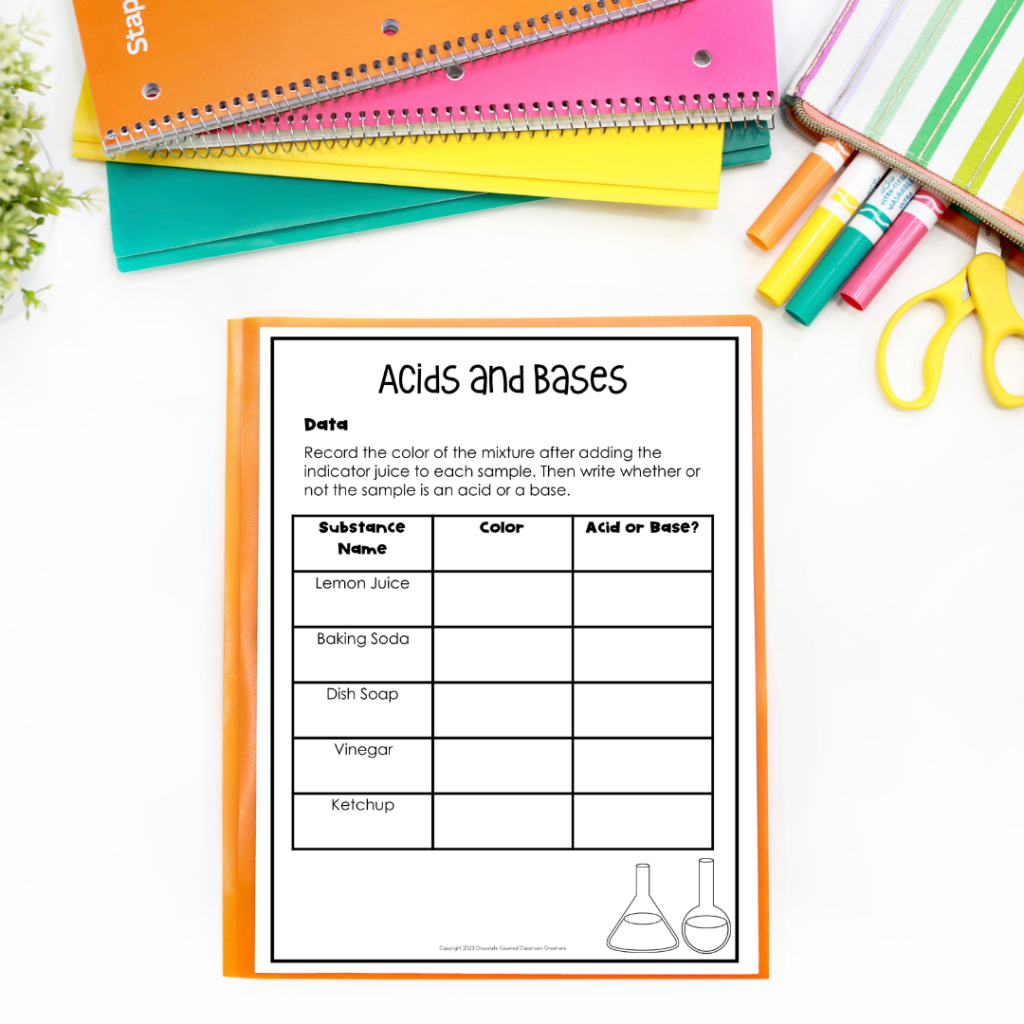
- one recording sheet per student
Preparing for the Acids and Bases Experiment:
This experiment is going to go way more smoothly if you can get a few things prepped ahead of time.
First, decide how many groups you will have. It works best to have groups of 3 students.
Next, consider making the red cabbage juice first thing when you arrive at school. It’s ok if it sits for longer than an hour.
Once your red cabbage juice is ready, add some to each group’s large cup. If you have five groups, you need 5 cups of red cabbage juice. (Note that each cup only needs to have around 1/4 cup of juice inside.)
Then prepare the testing cups. You will need enough samples so that every group has one of each. For example, if you have 5 groups, you will need to prepare 5 cups of ketchup, 5 cups of lemon juice, etc. It’s also super helpful if you label the cups with a permanent marker. V for vinegar, LJ for lemon juice, etc.
Place the stir sticks in an easy to access location for student pick up.
Place the pipette in an easy to access location for student pick up.
Place the handouts in an easy to access location for student pick up.
TIP: Copy the handouts double sided so that students only have one page to keep track of!
Setting Up The Acids and Bases Experiment:
I don’t know about you, but I don’t have time to set up each station while the kiddos are out for recess. It just isn’t going to happen. So this is the procedure that I recommend following in order to distribute the materials quickly and efficiently.
However, feel free to disregard this section if you have a different method that you prefer or if you have time to prepare team stations ahead of time.
First, divide students into teams of around 3.
Next ask the teams to decide who is partner A, B, and C.
Test students to ensure that they know which partner they are by asking partner A to pat their head, partner B to stomp their feet, and partner C to clap 3 times.
Tell students that you will be calling out instructions quickly so they need to follow directions and do so very quietly. Their job is to go get the item and bring it back to their spot. Once you notice that most students have finished the task, move on to the next one to keep the pace going.
- Partner A go get a large cup of cabbage juice.
- Partner B go and get a cup of ketchup
- Partner C go and get a cup of baking soda
- Partner A go and get a cup of vinegar
- Partner B go and get a cup of lemon juice
- Partner C go and get a cup of dish soap
- Partner A go and get a pipette
- Partner B go and get 5 stir sticks
- Partner C go and get enough recording sheets for everyone in the group
Student Instructions for the Acids and Bases Experiment:
I have written the following as a script that you may choose to use when introducing the activity to students. You DO NOT need to follow this script word for word. It is just to give you an idea of how the lesson might go.
__________________________________________________________________
Scientists, today we are going to do an experiment. I need everyone to stand behind their materials. Be sure that your hands aren’t touching anything so that you can fully focus on the instructions.
Today we are going to learn about acids and bases.
Thumbs up if you think that you have ever heard those words before.
For today’s experiment, we will be using cabbage juice as an indicator. An indicator is kind of like a magic potion! When we add the cabbage juice to our sample, it will turn pink if it is an acid. If the sample stays purple or turns blue or green, then it is a base.
Start by completing the predictions section of the handout.
It is important that every group member gets an opportunity to test the different samples. So be sure to take turns!
When I say go, one group member will fill the pipette with red cabbage juice. Then they will add a few drops to one of the samples and stir using the stir stick. The entire group will record your findings on the recording sheet.
Note: It is VERY important that you use a different stir stick for each sample or clean it well in between uses so that there is not any cross-contamination.
You will then continue testing each sample until all 5 are complete.
After finishing up, please complete the conclusion section of the handout.
The Acids and Bases Experiment FREEBIE
Want to grab the recording sheets and a copy of the teacher instructions for FREE? Click HERE to have it sent straight to your inbox.

Want to add some books to your chemistry unit? Click HERE to read my blog post that lists the top 5 books for your classroom chemistry unit.
Need some more experiments? Click HERE to grab my Spooky Chemistry Experiments on TPT!


